Importing Configurations
Importing a Local File
-
Click the Configurations tab.
-
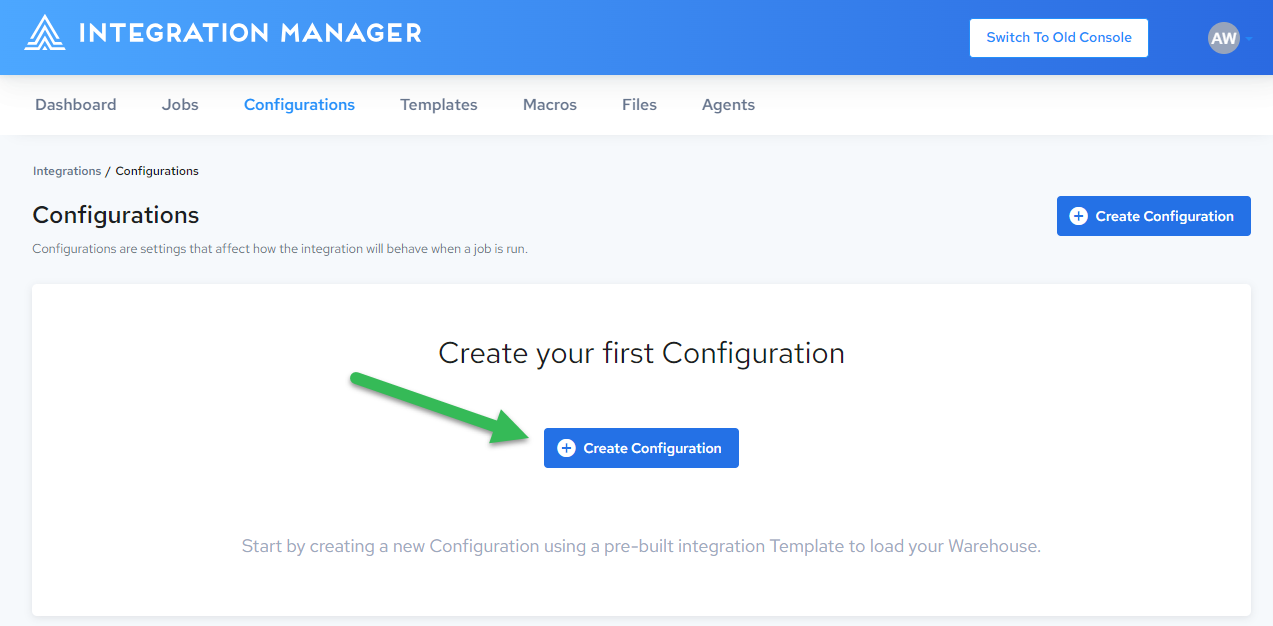
On the Configurations page, click Create Configuration:
 note
noteFor the Cloud version of Integration Manager, there is a Create Configuration button on the upper right of the Configurations page. This opens the Data Integration Setup page. See Creating Configurations.
-
On the Import Configuration page, enter a unique Name, then click Local System.
-
Browse to the desired folder and select a configuration file (.djar,.rtc,.process,.ip.xml,.tf.xml,.sqlite).
-
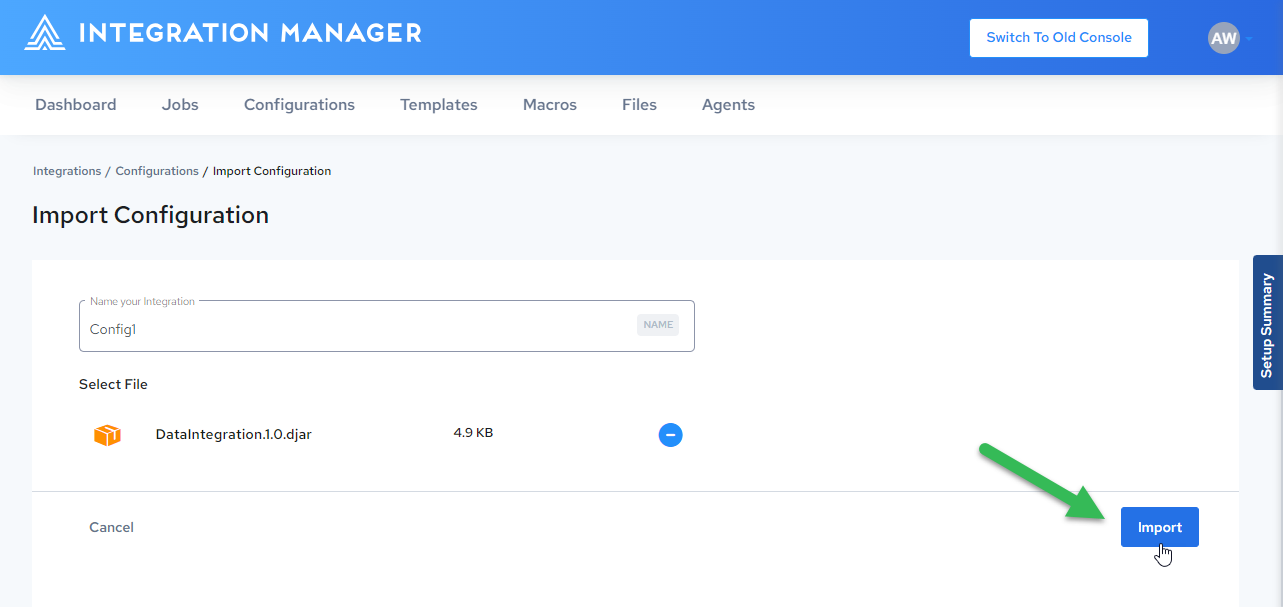
The file is added to the Import Configuration page. Click Import:
-
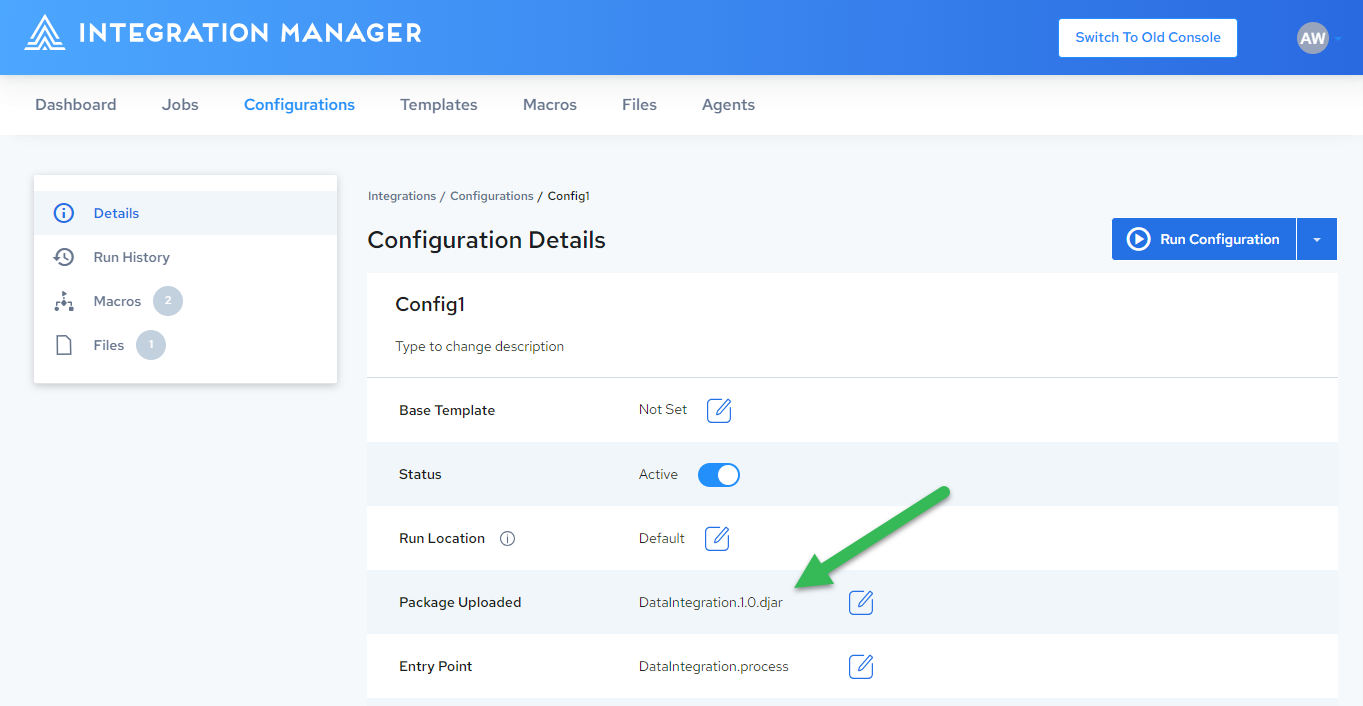
The package is imported and listed on the Configuration Details page:
-
Edit configuration details as desired. See Editing Configuration Details.
Importing a Private File
-
Click the Configurations tab.
-
On the Configurations page, click Create Configuration:

-
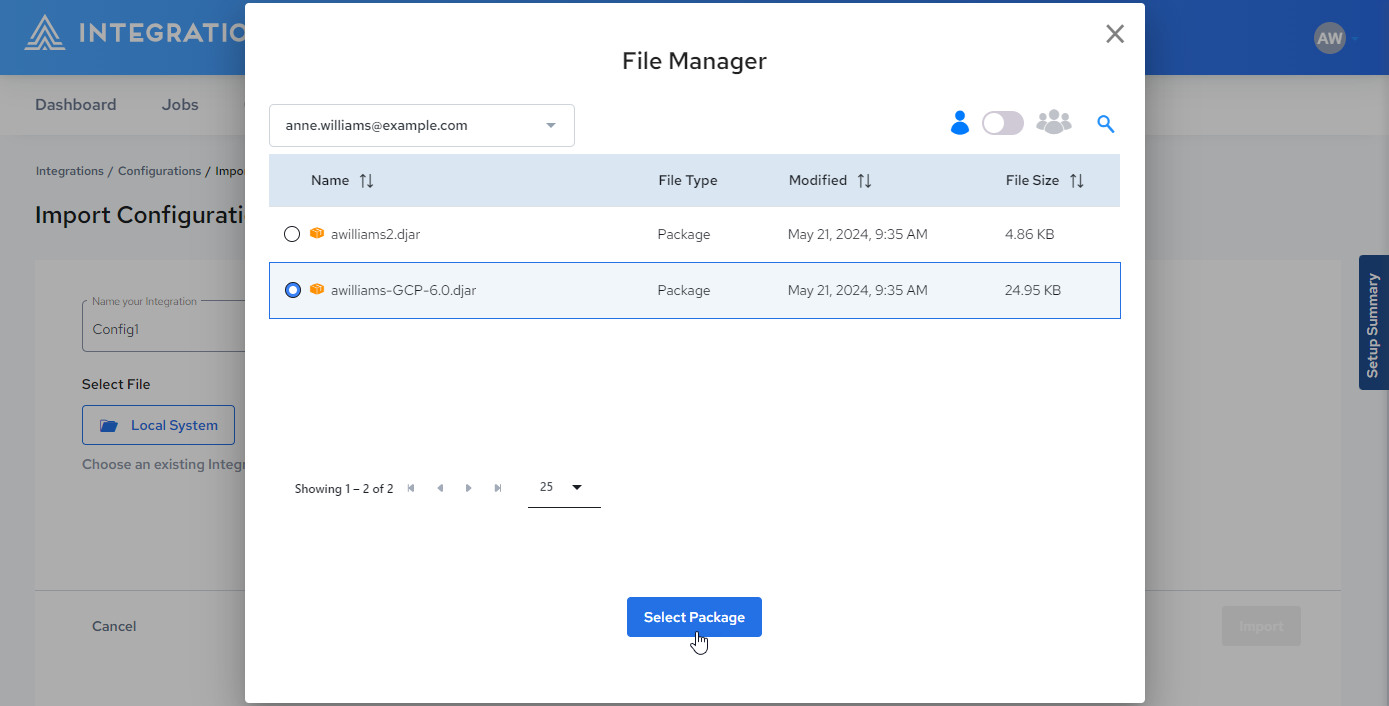
On the Import Configuration page, enter a unique Name, then click Integration Files. The File Manager is displayed.
-
If you are a non-admin user, only your name appears in the user dropdown. If you are an admin user, you can select a different user.
-
The files uploaded by the selected user are listed. Select a package and click Select Package:
-
Click Import:

-
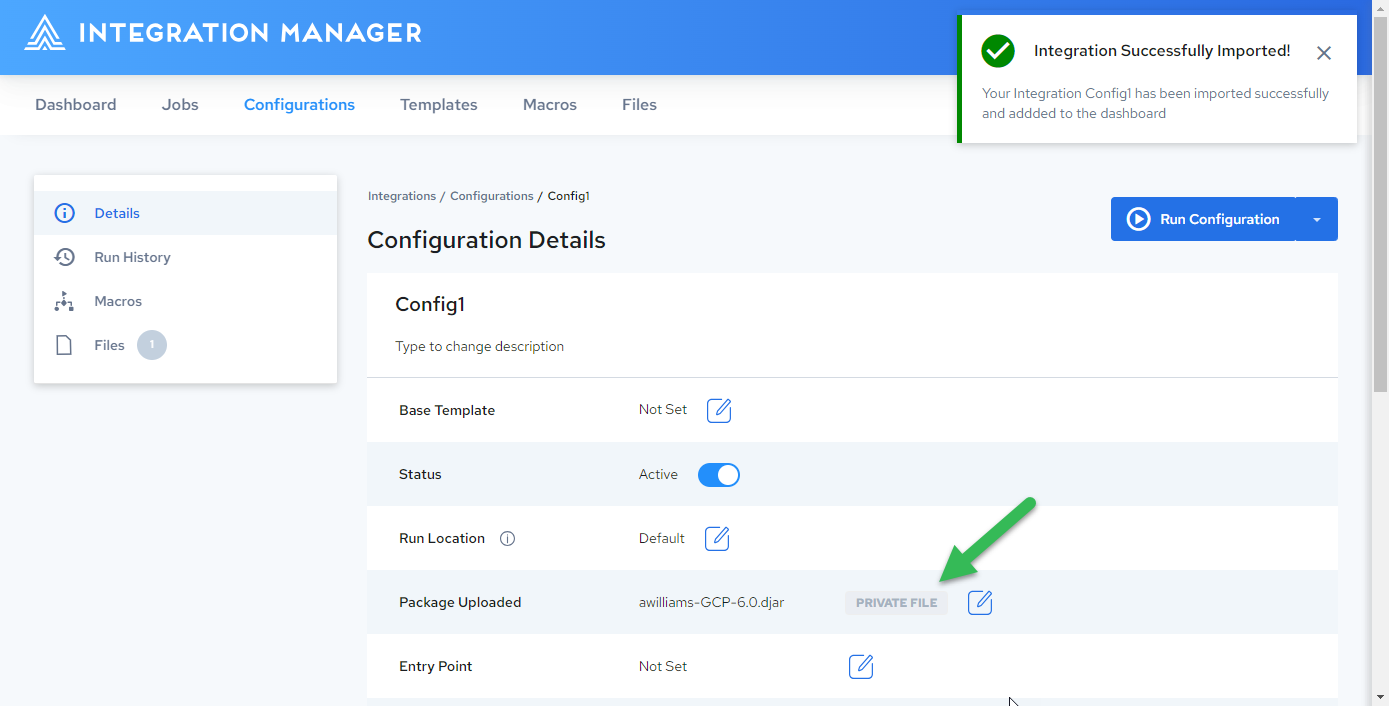
The package is imported and listed on the Configuration Details page, indicating that the package is a private file:
Importing a Public File
-
Click the Configurations tab.
-
On the Configurations page, click Create Configuration:

-
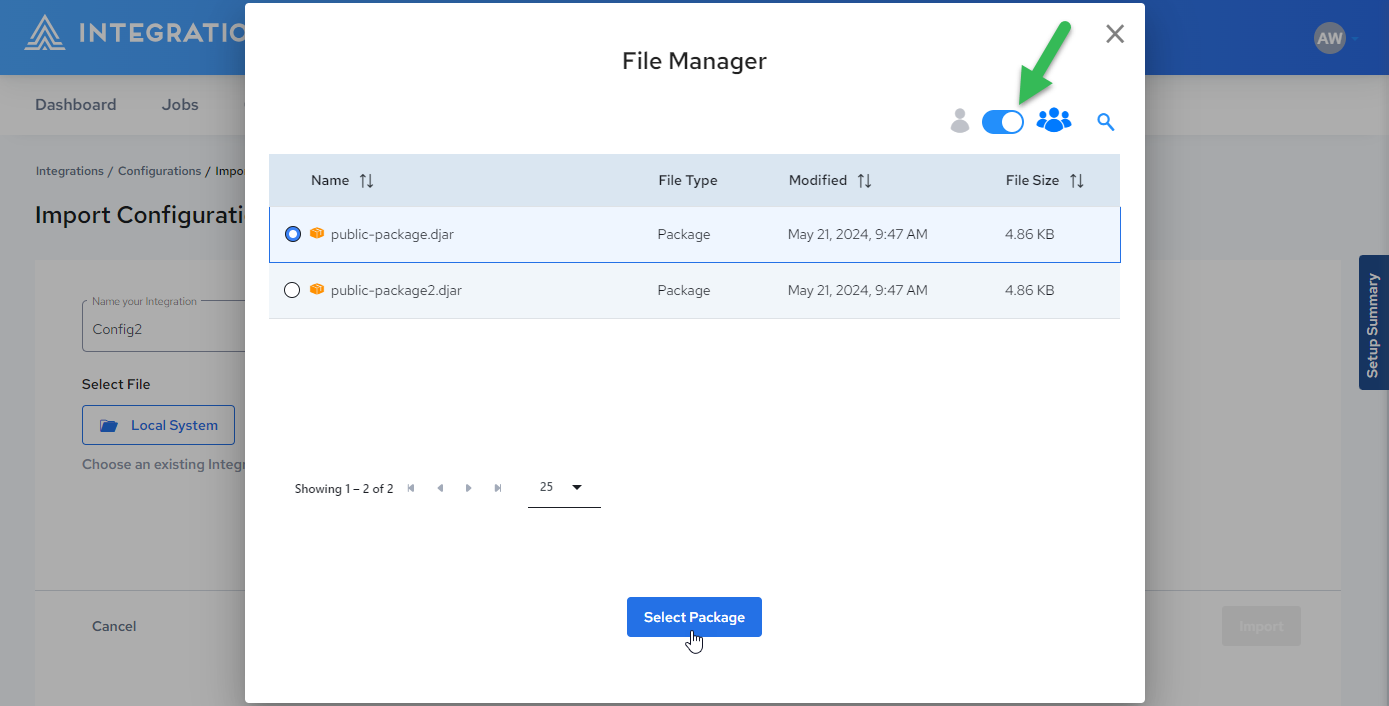
On the Import Configuration page, enter a unique Name, then click Integration Files. The File Manager is displayed.
-
Use the toggle control to select public packages, select a package, and click Select Package:
-
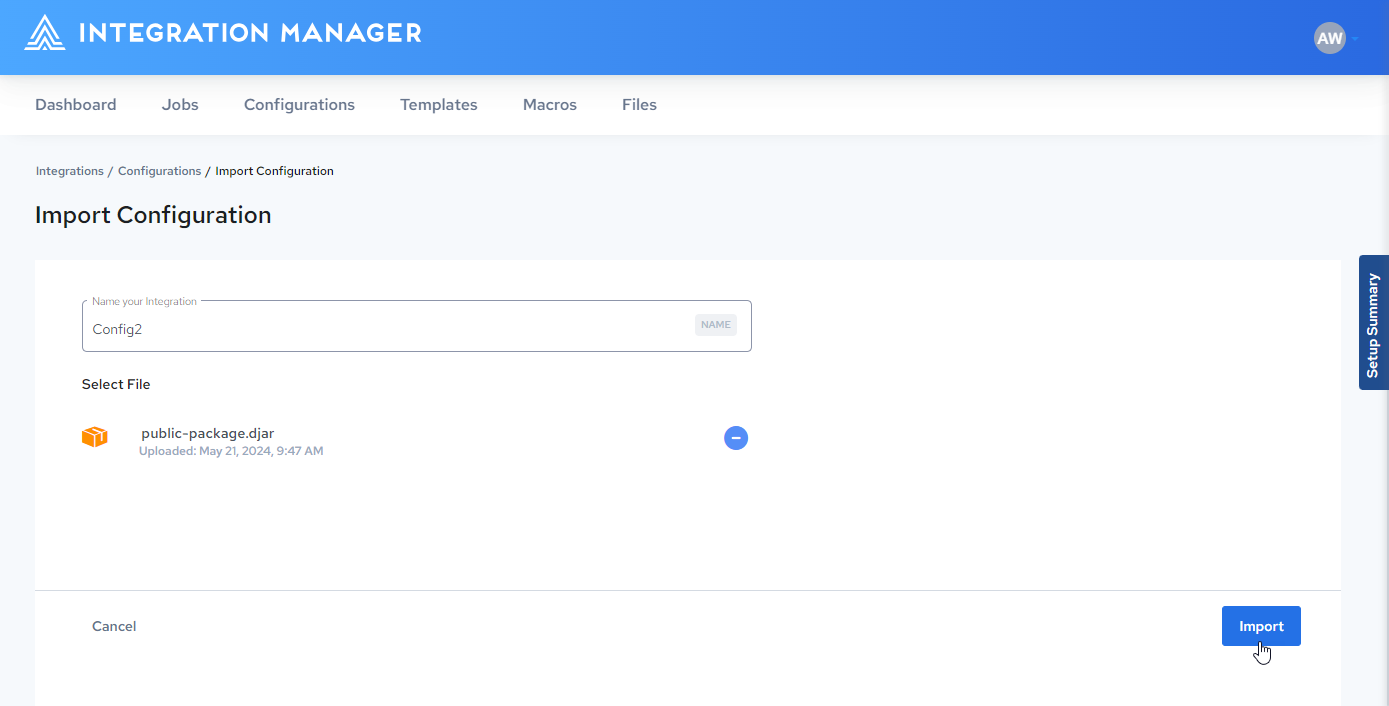
Click Import:
-
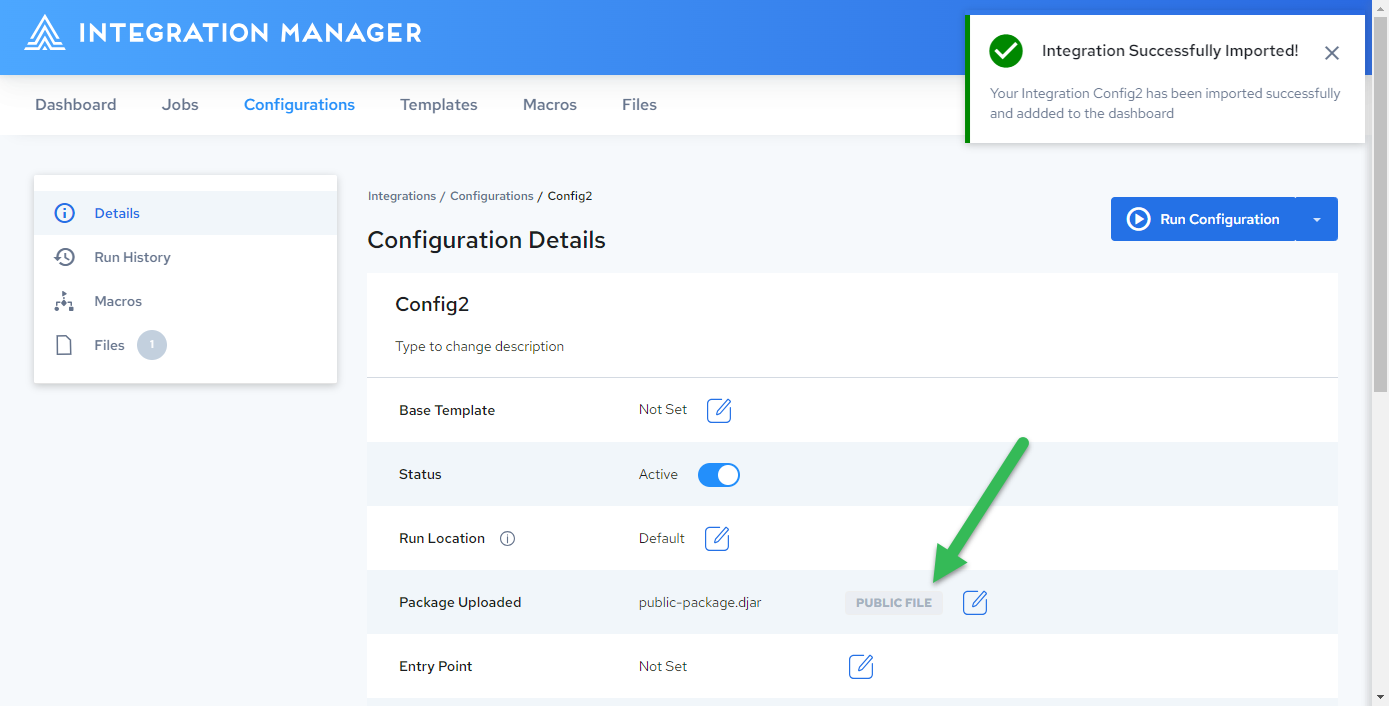
The package is imported and listed on the Configuration Details page, indicating that the package is a public file:
