Importing Macros
Importing macros by uploading a macro definition file (see Macro File Examples) allows you to upload multiple macros without having to manually define each macro.
You can import macros directly from a file to any object (Account, Template, User, Configuration).
- You can import macrodef files in XML (v9) or JSON (v9 and later) formats. For examples, see Macro File Examples.
- v9 macros cannot be encrypted.
- Imported macrodef files with encrypted values will only import the macro name. The value will be empty.
You can import macros in two ways:
- Method 1: Using the Add Macros dialog, which allows you to both upload a macro file and manually enter name/value pairs
- Method 2: Using the Upload Macro File dialog, which only allows you to upload a file.
Method 1: Add Macros Dialog
-
Click
 .
. -
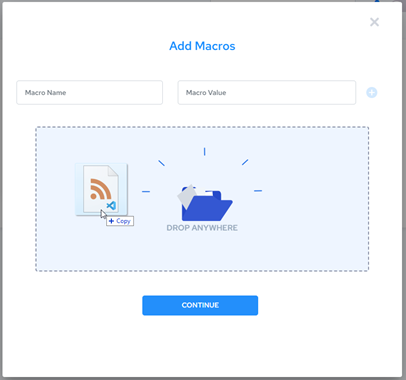
In the Add Macros dialog, drag and drop or browse and select an existing XML or JSON file:

-
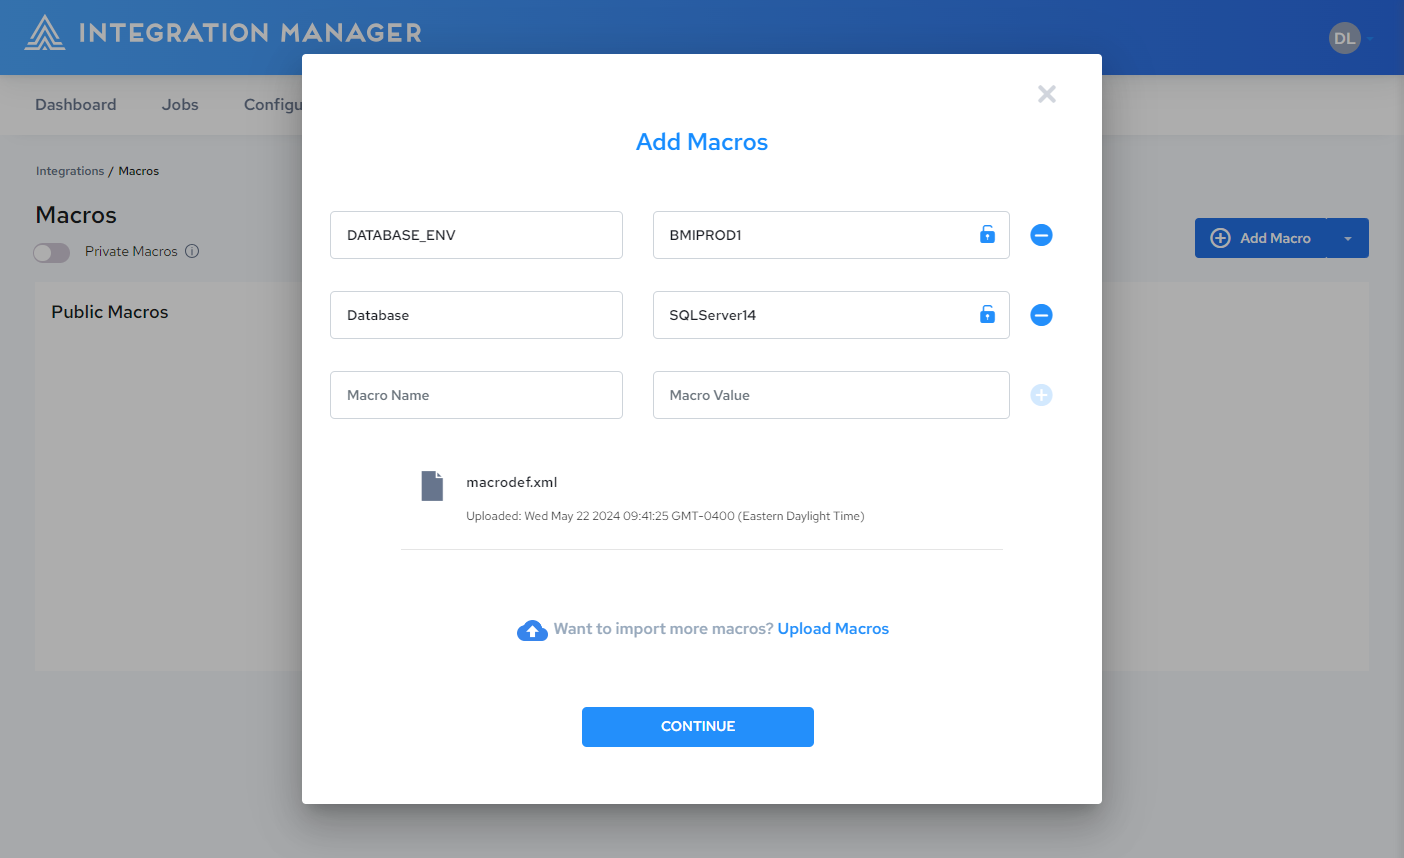
The name-value pairs defined in the macro file are added to the Add Macros dialog:

-
If required, encrypt the macro value by clicking
 in the Value field.Important
If you click
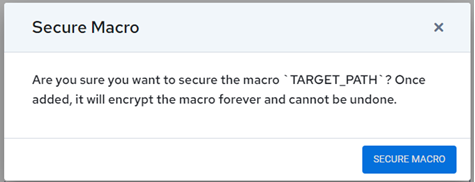
 , the following warning is displayed:
Secured macros cannot be unsecured, and their values cannot be edited. If you need to change the value of a secured macro, you must delete and readd it.
For more information, see Securing Macros.
-
Manually enter any additional name/value pairs as desired.
-
Click
 .
.
-
You are returned to the Macros list:

-
For each macro, click the empty space in the Description column, enter a descriptive name, and press Enter.

Method 2: Upload Macro File Dialog
-
Click the dropdown arrow next to the Add Macro button and select Import Macros:
-
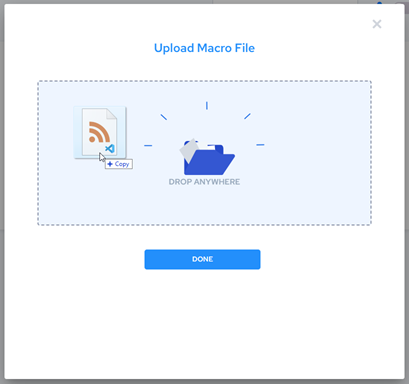
In the Upload Macro File dialog, drag and drop or browse and select an existing XML or JSON file:

-
As soon as you drop or select a file, the macros are added and you are returned to the Macros list:

-
For each macro, click the empty space in the Description column, enter a descriptive name, and press Enter.

Macro File Examples
- JSON
- XML
{
  "macroSet" : [ {
    "id" : 1,
    "name" : "T_AZURE",
    "macros" : {
      "macro" : [ {
        "id" : 1,
        "name" : "AZURE_CLIENT_ID",
        "value" : "",
        "encryptValue" : false,
        "description" : "Required. Credentials used to access azure services."
      }, {
        "id" : 2,
        "name" : "AZURE_CLIENT_SECRET",
        "value" : "",
        "encryptValue" : false,
        "description" : "Required. Credentials used to access azure services."
      }, {
        "id" : 3,
        "name" : "AZURE_TENANT_ID",
        "value" : "",
        "encryptValue" : false,
        "description" : "Required. Tenant ID (Directory ID) assigned by Azure Active Directory service."
      }, {
        "id" : 4,
        "name" : "AZURE_CONTAINER_NAME",
        "value" : "",
        "encryptValue" : false,
        "description" : "Required. Name of the container in azure storage account which contains data files"
      }, {
        "id" : 5,
        "name" : "AZURE_STORAGE_ACCOUNT",
        "value" : "",
        "encryptValue" : false,
        "description" : "Required. Name of the azure storage account."
      } ]
    }
  } ]
}
<?xml version="1.0" encoding="UTF-8" standalone="yes"?>
<djmacros>
    <macro name="DATABASE_ENV" type="0" value="BMIPROD1">
        <description> </description>
    </macro>
    <macro name="DJWORKSPACE" type="0" value="C:\Users\jdoe\">
        <description> </description>
    </macro>
    <macro name="Database" type="0" value="SQLServer14">
        <description> </description>
    </macro>
    <macro name="LocalMacro1" type="0" value="LocalMacroValue">
        <description> </description>
    </macro>
    <macro name="macro_example" type="0" value="myExample">
        <description> </description>
    </macro>
    <macro name="v9Macro1" type="0" value="value1">
        <description> </description>
    </macro>
    <macro name="v9Macro2" type="0" value="value2">
        <description> </description>
    </macro>
</djmacros>