Creating Macros
This topic describes the process of manually creating a macro. For details on importing macros, see Importing Macros.
Creating User (Private) Macros
To create a User (Private) Macro:
-
Select the Macros tab.
-
Use the toggle control to select Private Macros:

-
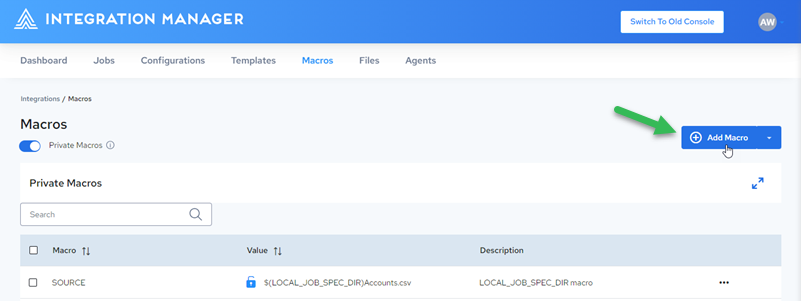
The Private Macros list is displayed.
Non-Admin Users:
-
Click
 :
:
Admin Users:
-
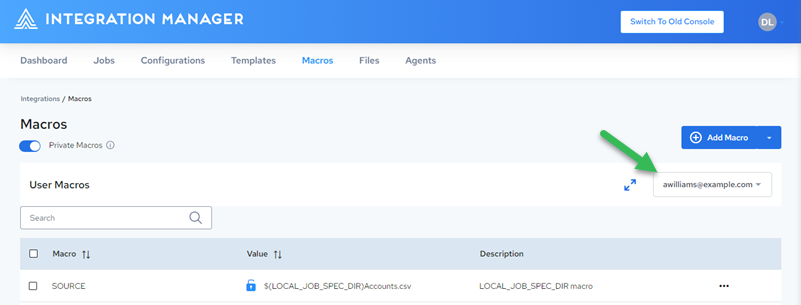
Select the user for whom you want to create the macro, then click
 :
:
-
-
If creating your first private macro, continue Creating Your First Macro. Otherwise, continue Creating Additional Macros.
Creating Public Macros
Only admin users can create Public macros.
To create a Public Macro:
-
Select the Macros tab.
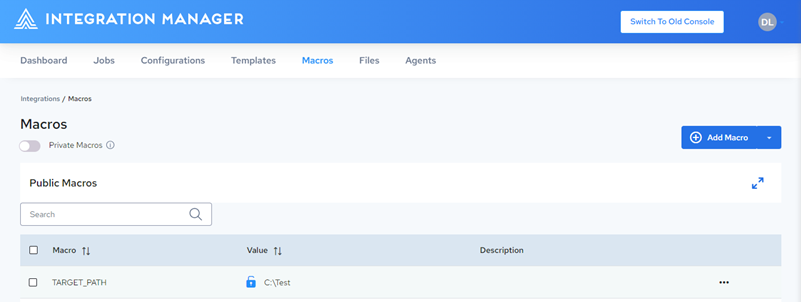
The Public Macros list is displayed:
-
Click
 :
: -
If creating your first public macro, continue Creating Your First Macro. Otherwise, continue Creating Additional Macros.
Creating Your First Macro
-
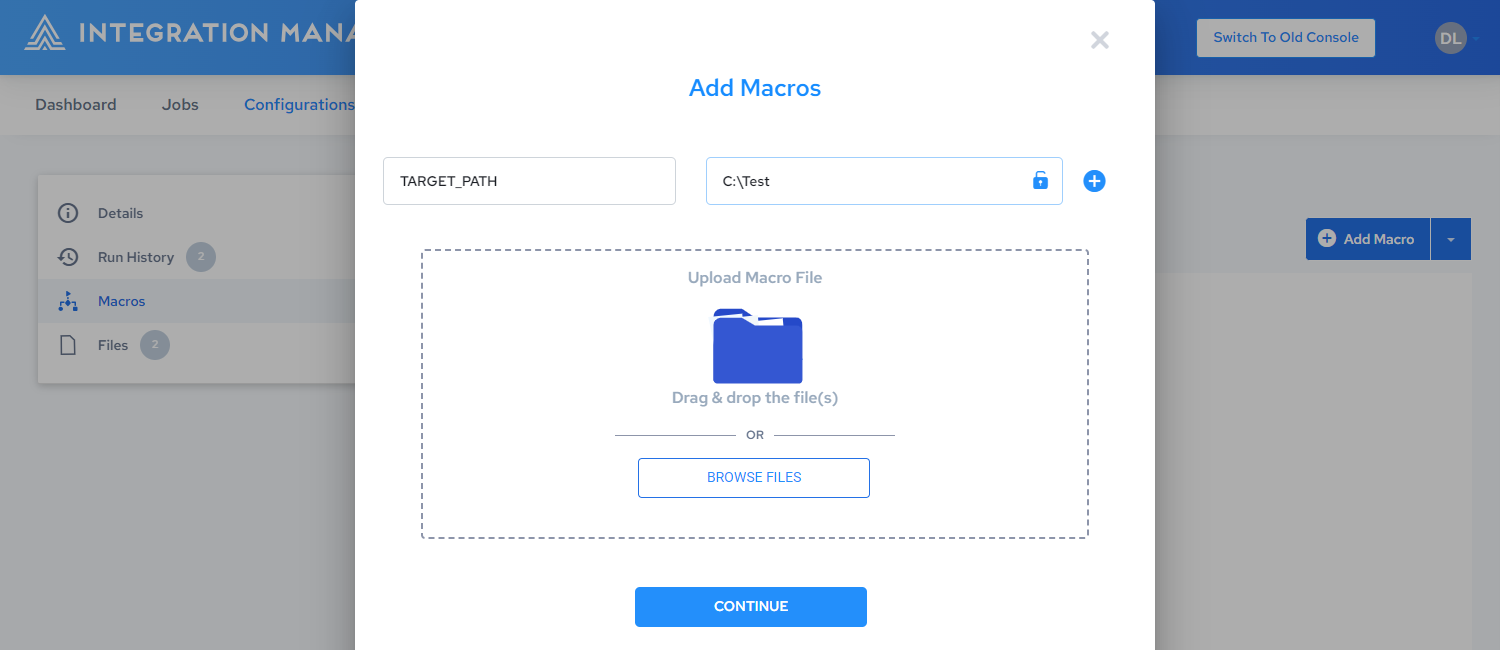
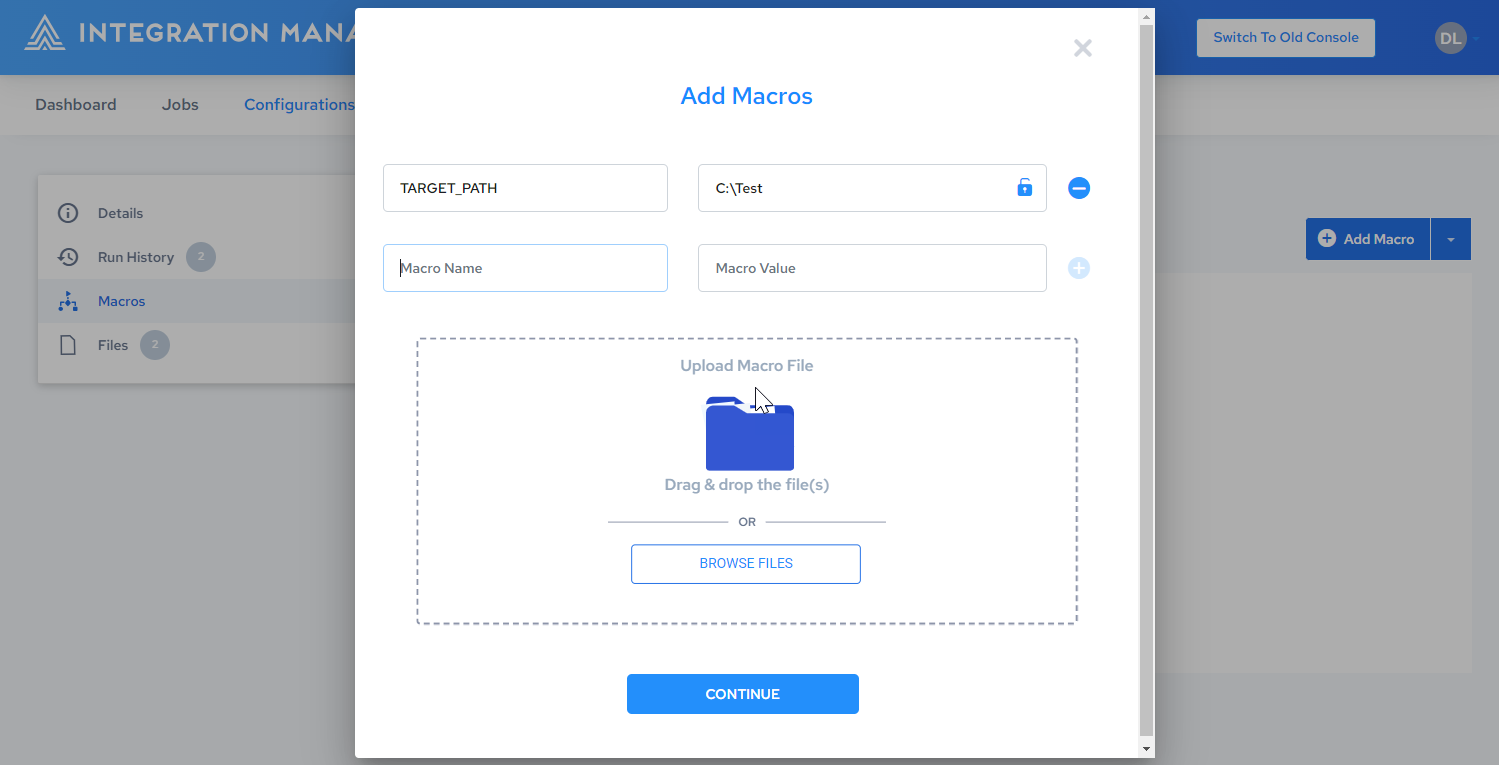
In the Add Macros dialog, enter a Name and Value:
-
If required, encrypt the macro value by clicking
 in the Value field.Important
If you click
 , the following warning is displayed:
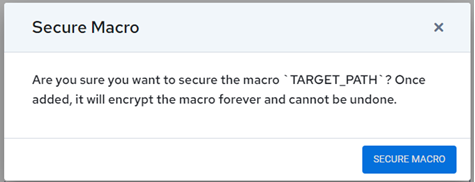
Secured macros cannot be unsecured, and their values cannot be edited. If you need to change the value of a secured macro, you must delete and readd it.
For more information, see Securing Macros.
-
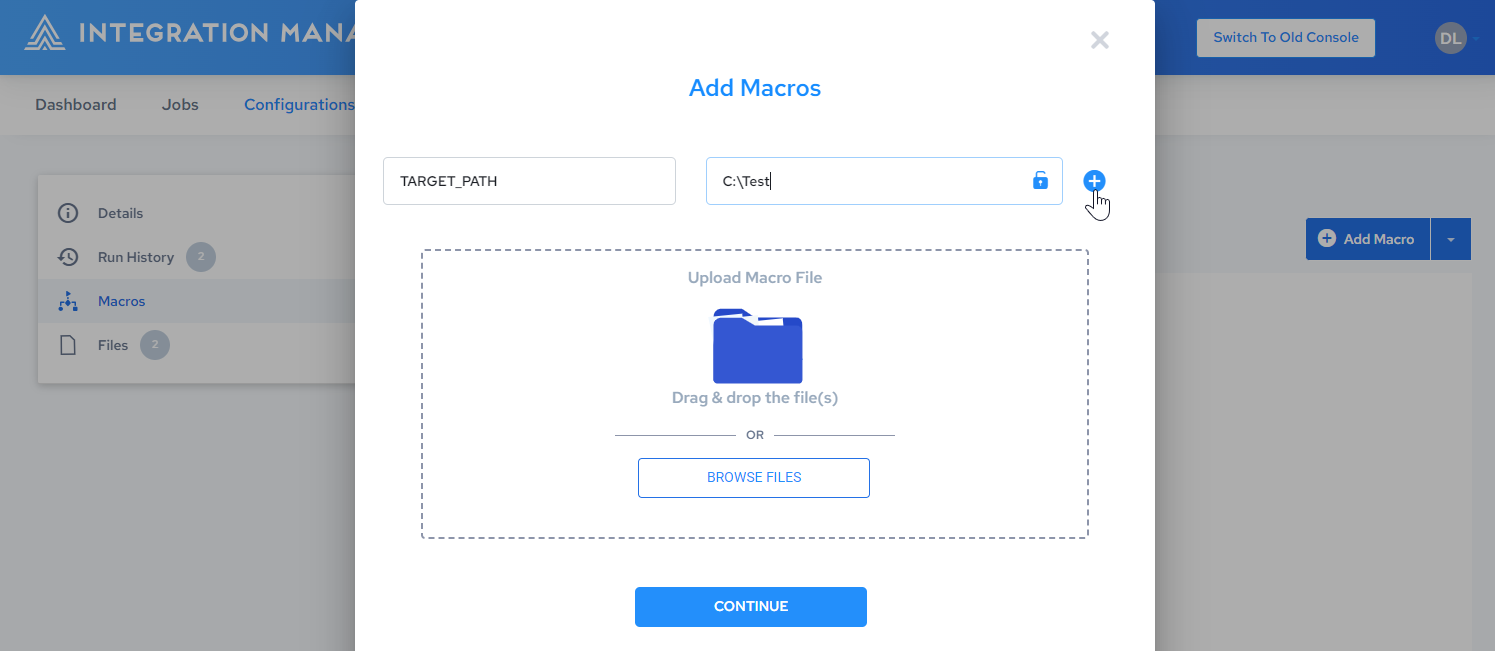
Click
 :
: note
noteIf you click
 before you click
  , the following dialog is displayed:
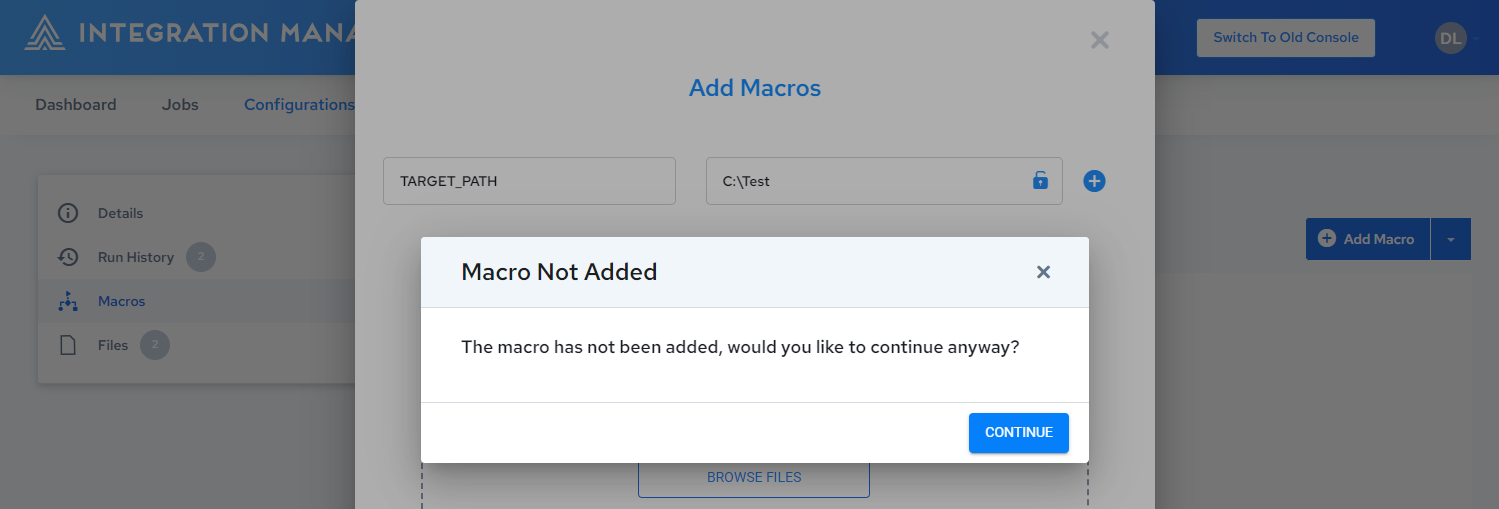
Clicking CONTINUE will return you to the Macros page without adding the macro.
-
A new empty row is added:
-
If desired, repeat the previous two steps to add additional macros.
-
Click
 .
.
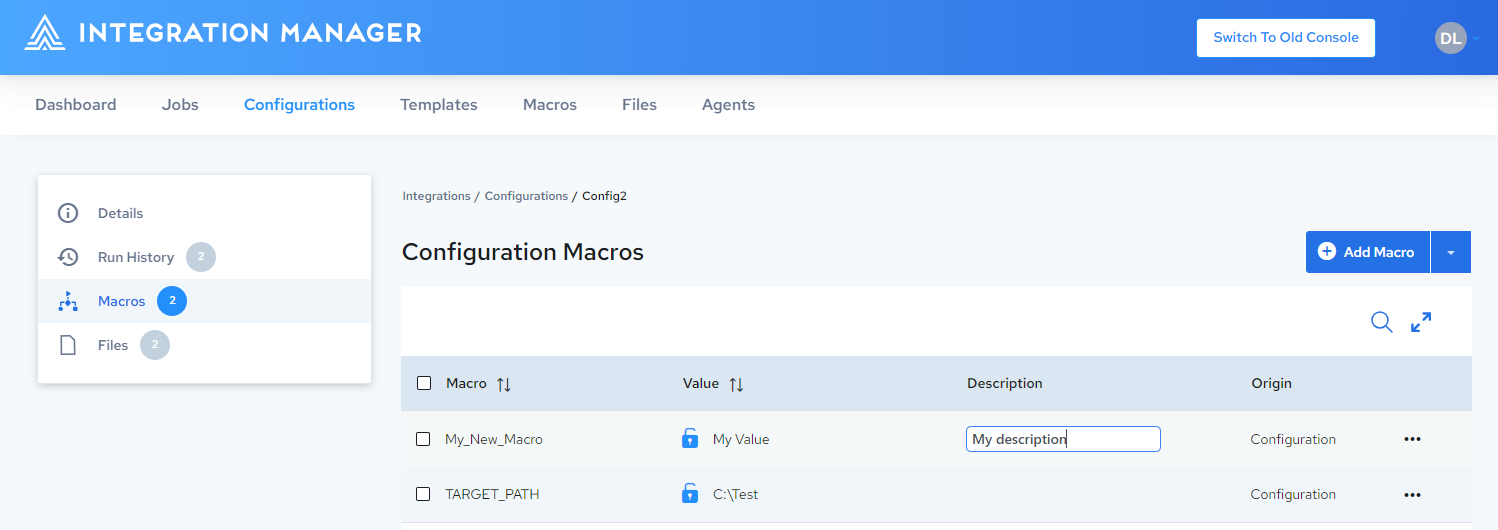
- You are returned to the Macros page, which lists the new macro:
- Click the empty space in the Description column, enter a descriptive name, and press Enter:
Creating Additional Macros
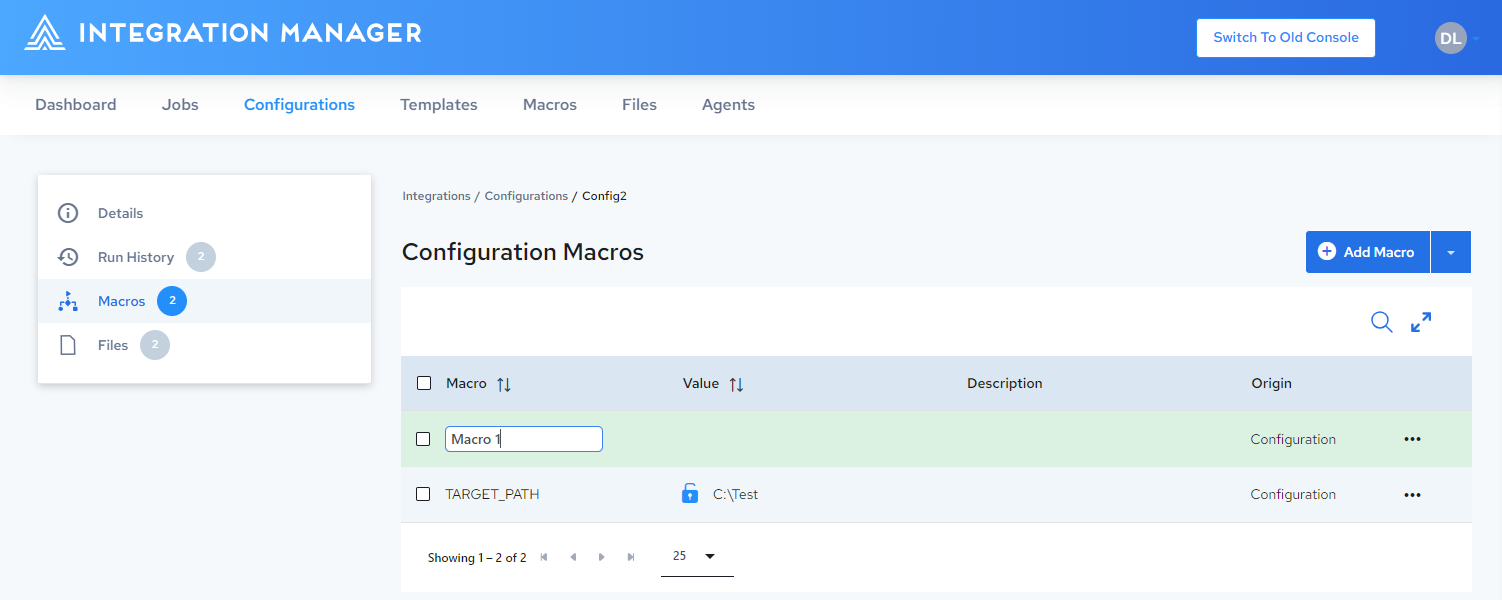
Once you have created your first macro, you can add additional rows to the Macros list and edit the values directly in the list.
-
When you click
 , a row is added to the Macros list with the default name “Macro #”:
-
Edit the name as desired and press Enter.
-
Click the empty space in the Value column, enter the macro value, and press Enter.

-
Click the empty space in the Description column, enter a description, and press Enter.
